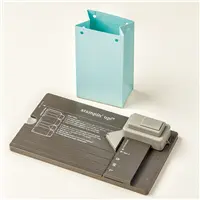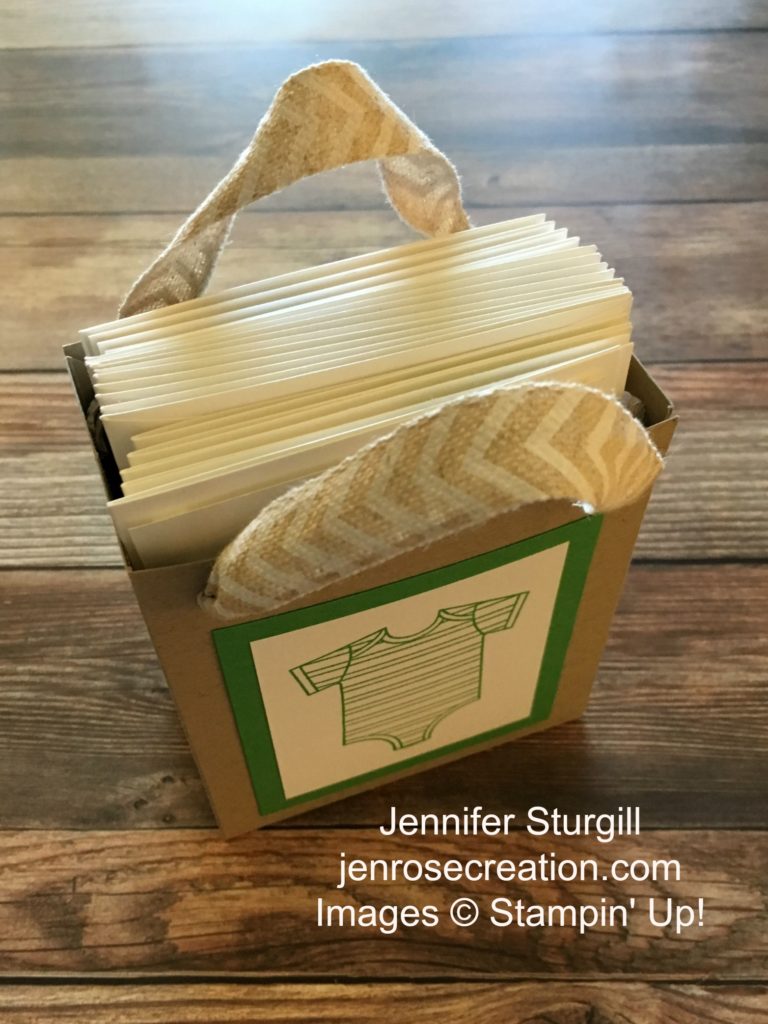
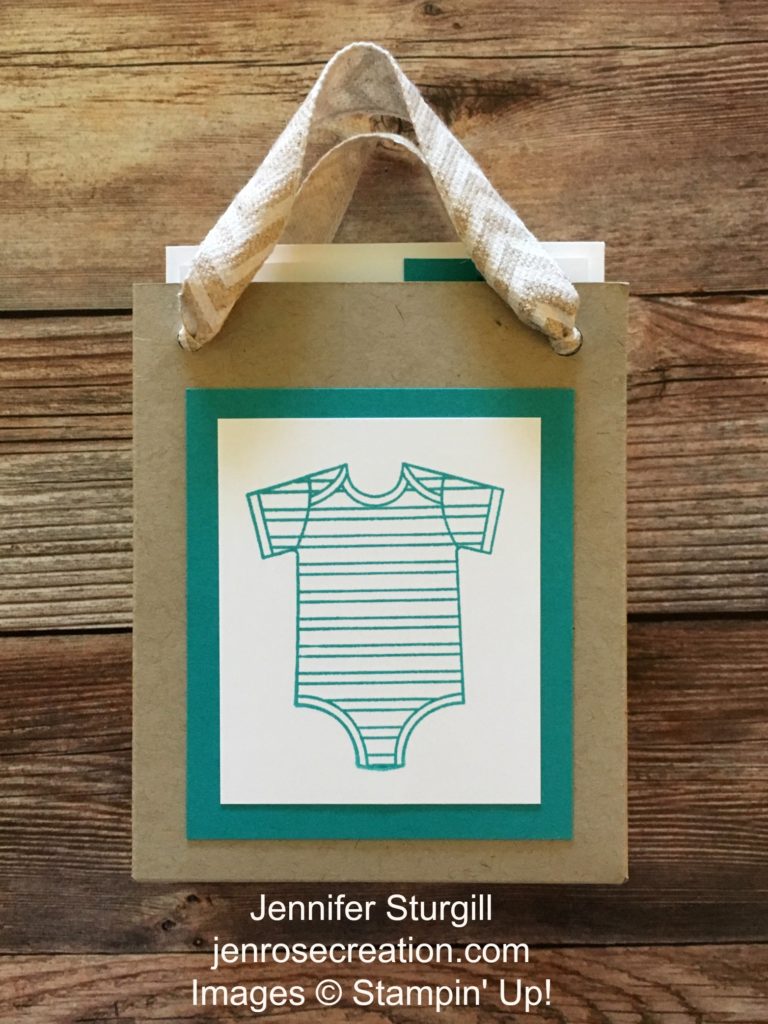
Today, I wanted to share with you how I made the gift bag for the baby shower thank you cards I posted about yesterday. Here is the link to the thank you cards just in case you missed it. Since I wanted to be able to hold 10 note cards with envelopes, I had to modify how I used the gift bag punch board.
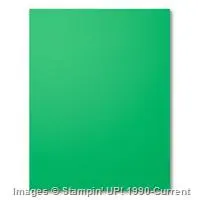
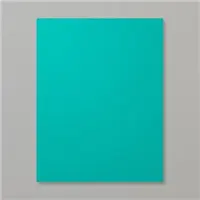
You can click on the colors below to see all items available in that color in my online store. Note: This will not show Designer Series Paper that uses these colors.
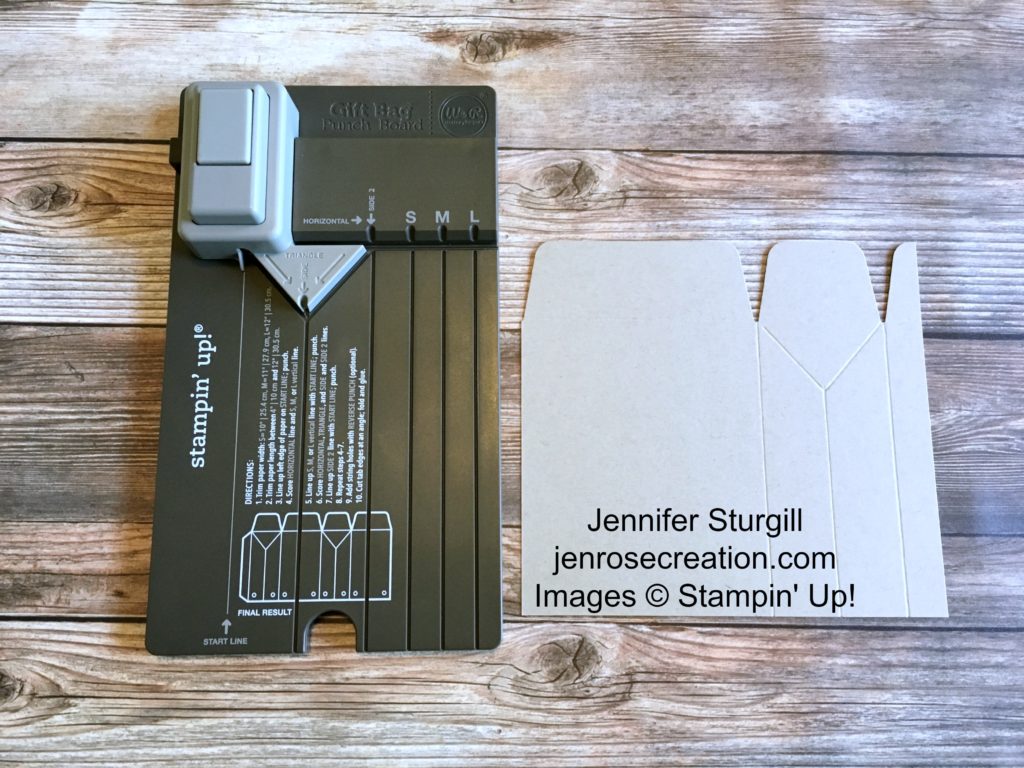
To start, cut two 6″ x 6-1/2″ pieces of Crumb Cake Cardstock. Place one piece in the Gift Bag Punch Board with the 6-1/2″ side along the top. Score the horizontal line all the way across the top. Now, line the left edge of the cardstock on the left edge of the board. Score the “S” (small) line down. (See the picture below) (Note: If making gift bag for standard size cards, 4-1/4″ x 5-1/2″, then start with a 8″ x 6-1/2″ piece of cardstock and score on the “L” line.)
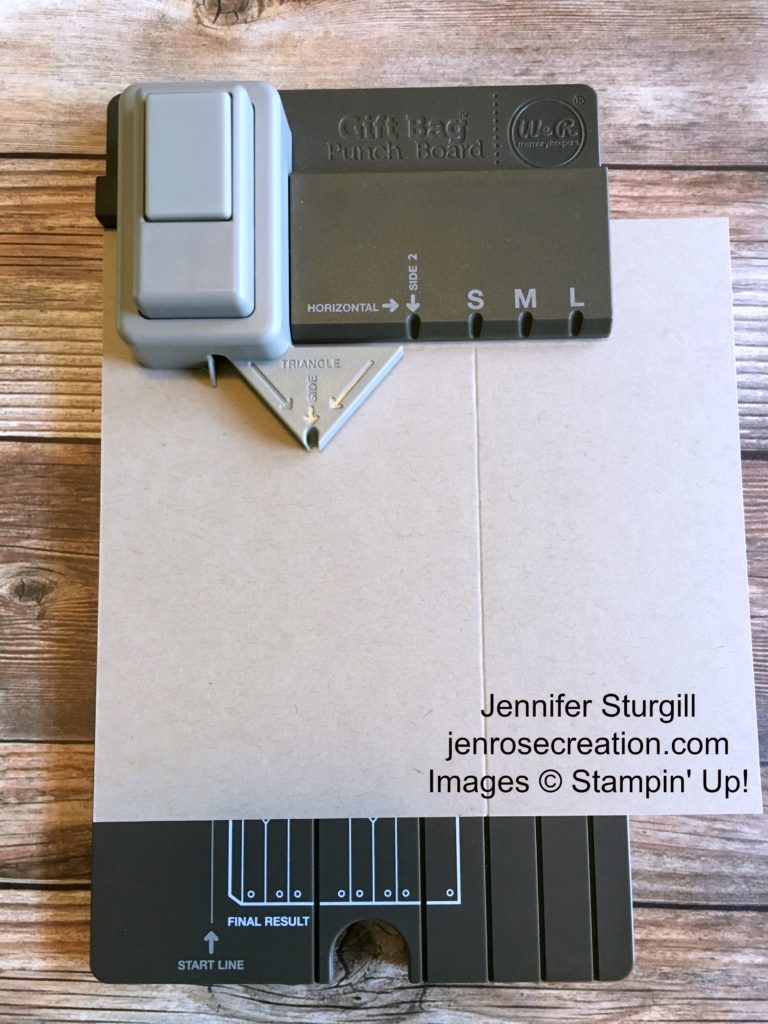
Slide the cardstock left until the vertical score line we just made meets the start line indicator. Now punch. Without moving the cardstock, score the two “side” lines as well as the two “triangle” lines. (See the picture below)
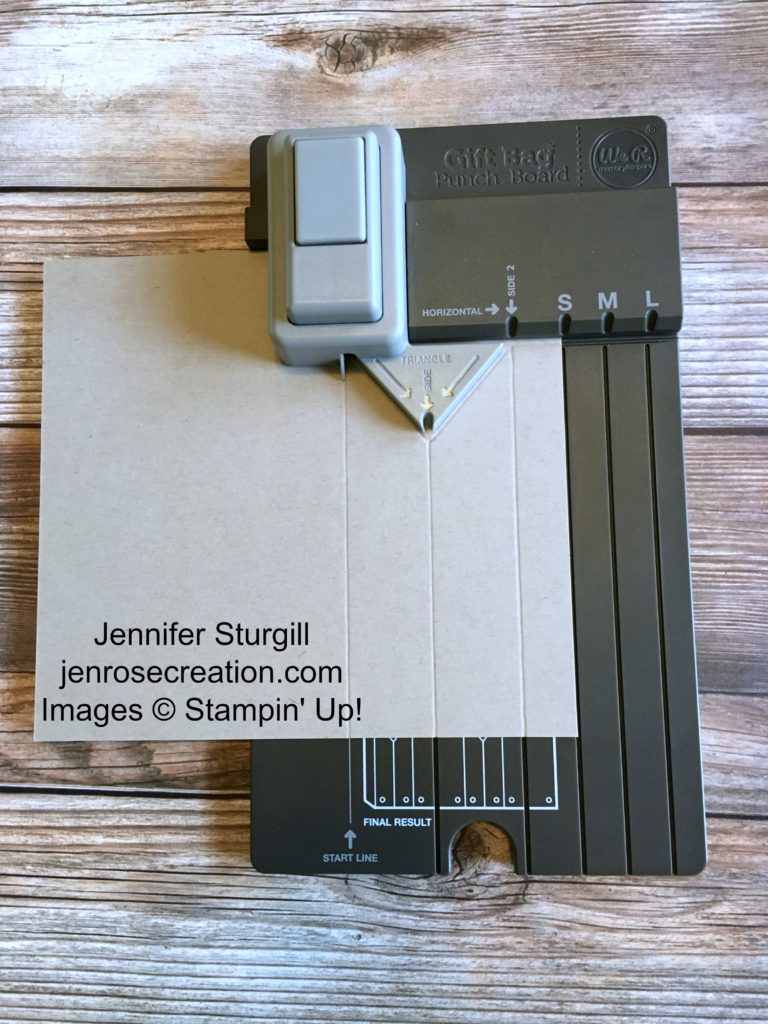
Slide the cardstock left until the last vertical score line (score line on far right) is lined up with the start line indicator. Now punch! (See picture below)
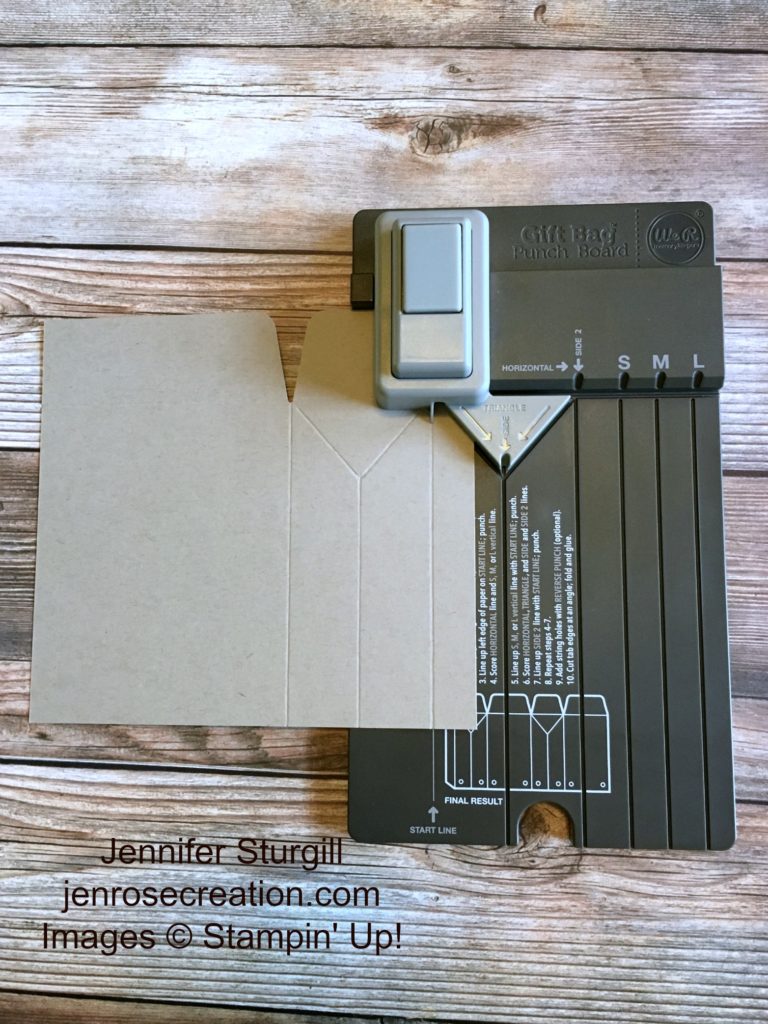
Slide the cardstock so the far left of the cardstock lines up along the start line indicator. Now punch! (See picture below)
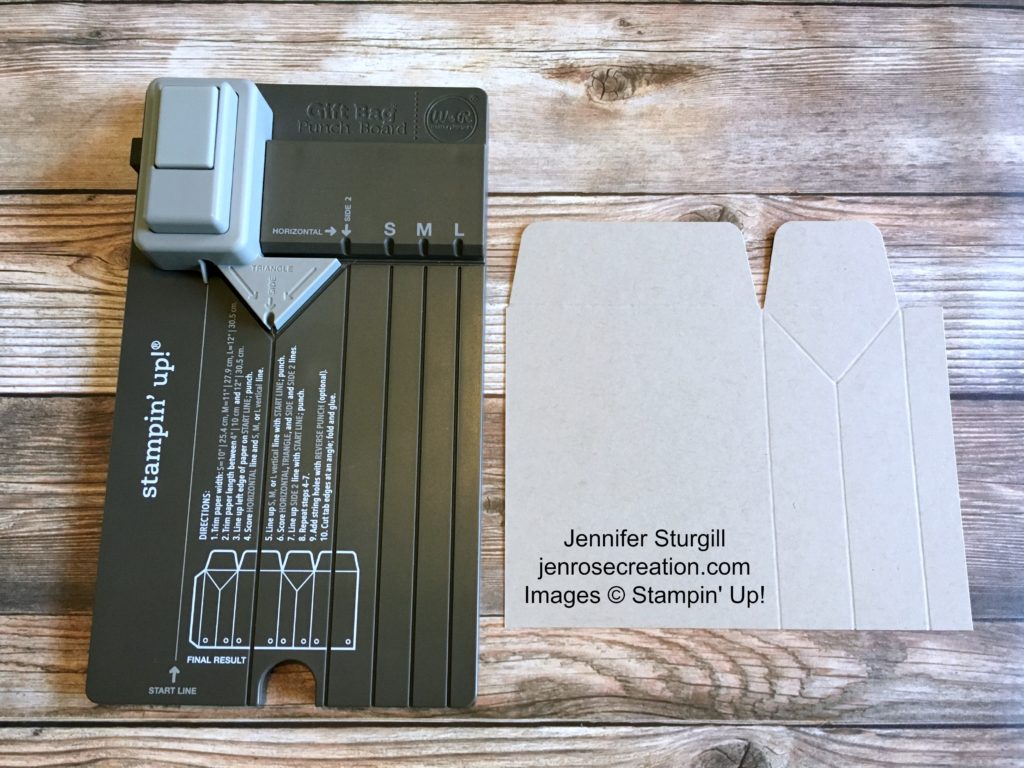
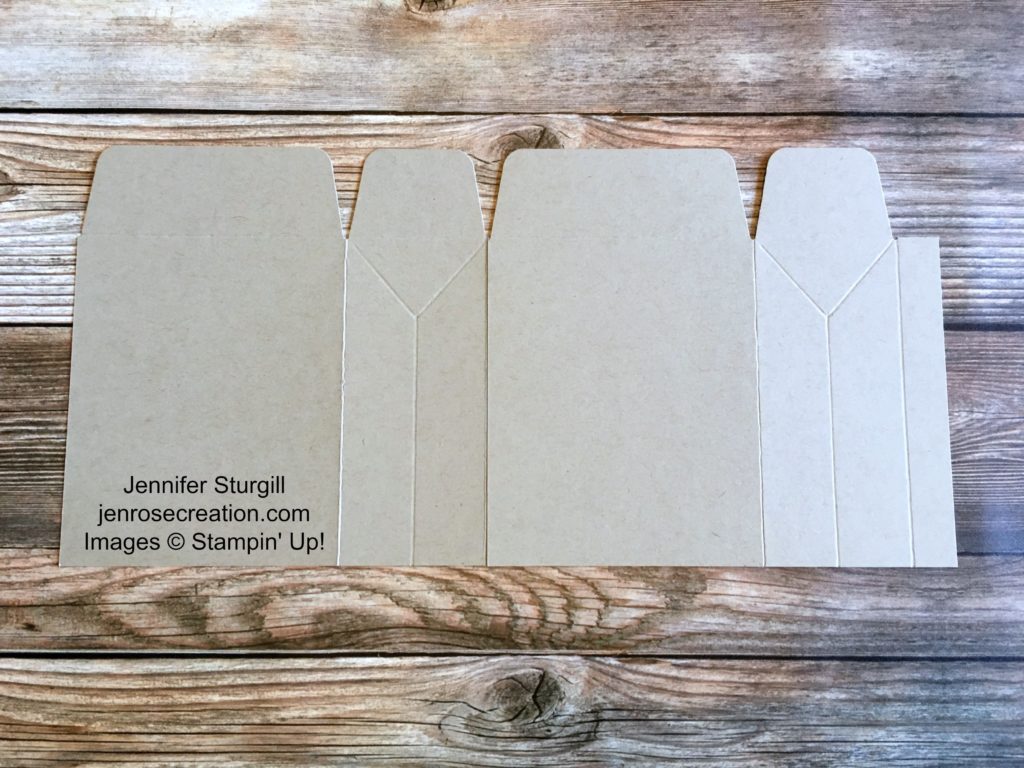
Repeat the above steps with the second piece of cardstock. You should now have two pieces that look like this:
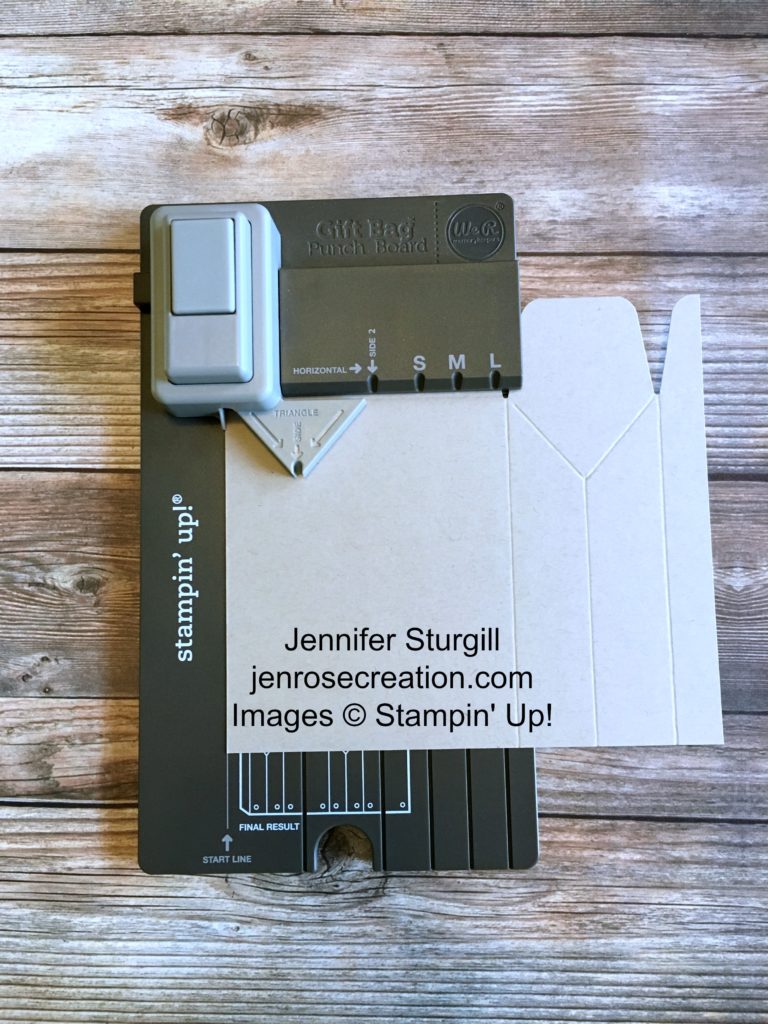
Snip off the short tab on the right side on both pieces. (See picture below)
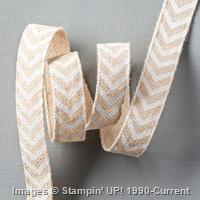
Adhere them overlapping with Fast Fuse or Tear & Tape adhesive. (See picture below)
Fold over and adhere to the other side. (See picture below)
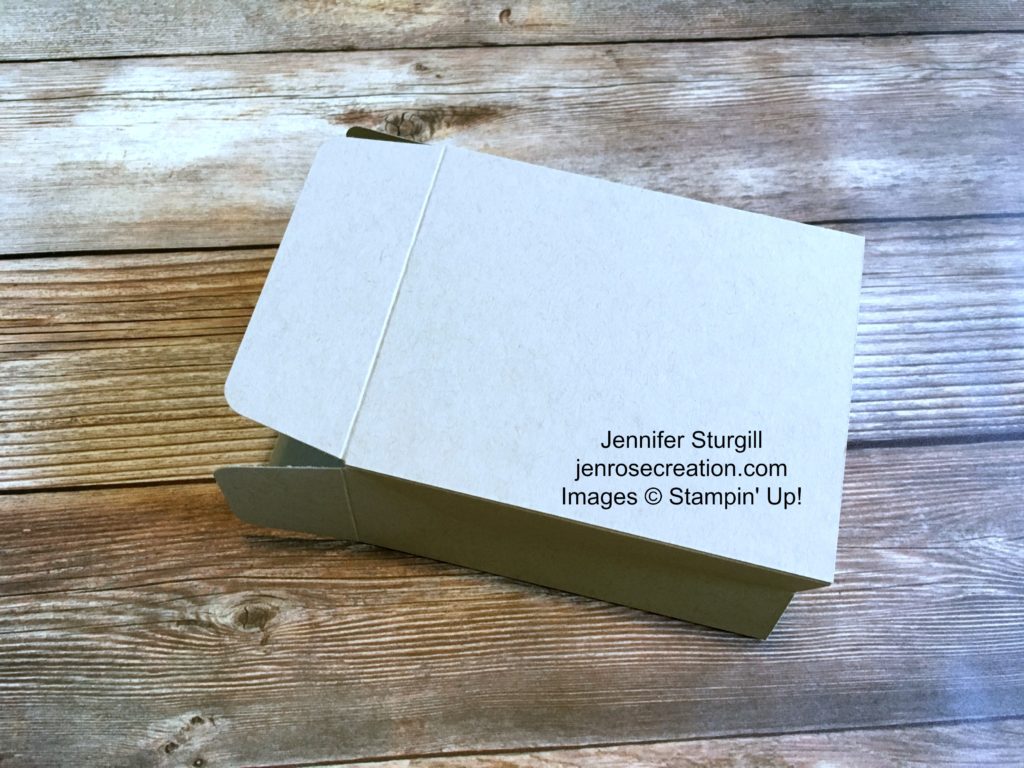
Fold in the side tabs and then adhere the bottom tab with Fast Fuse or Tear & Tape adhesive. (See picture below)
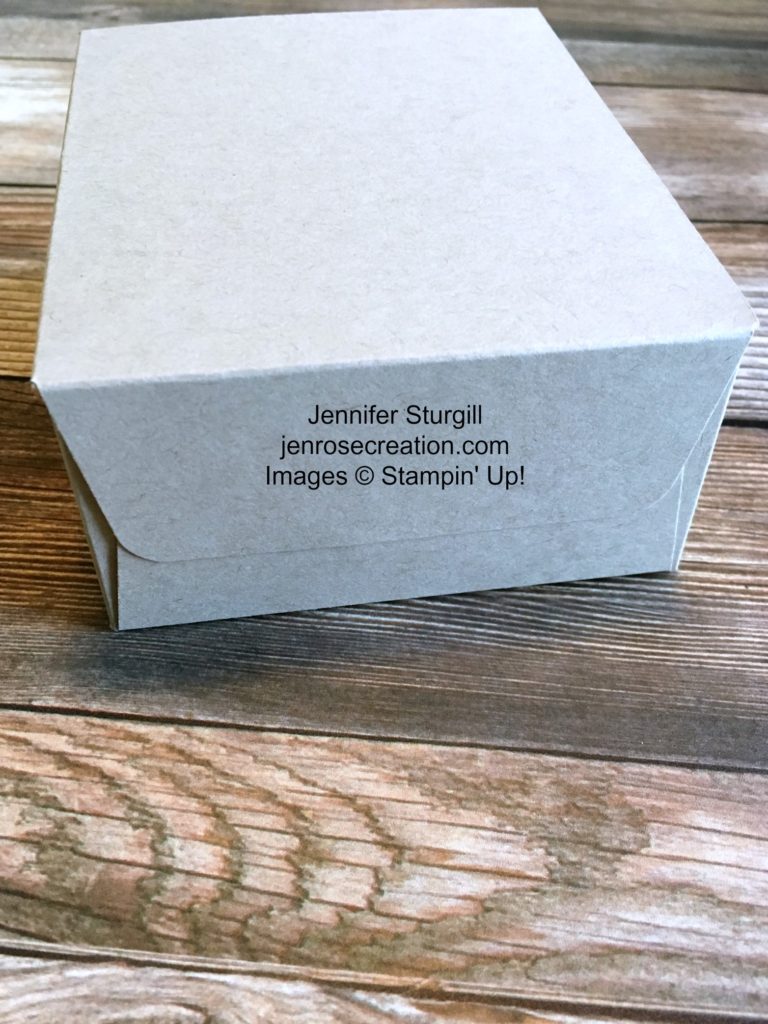
Now decorate! 🙂
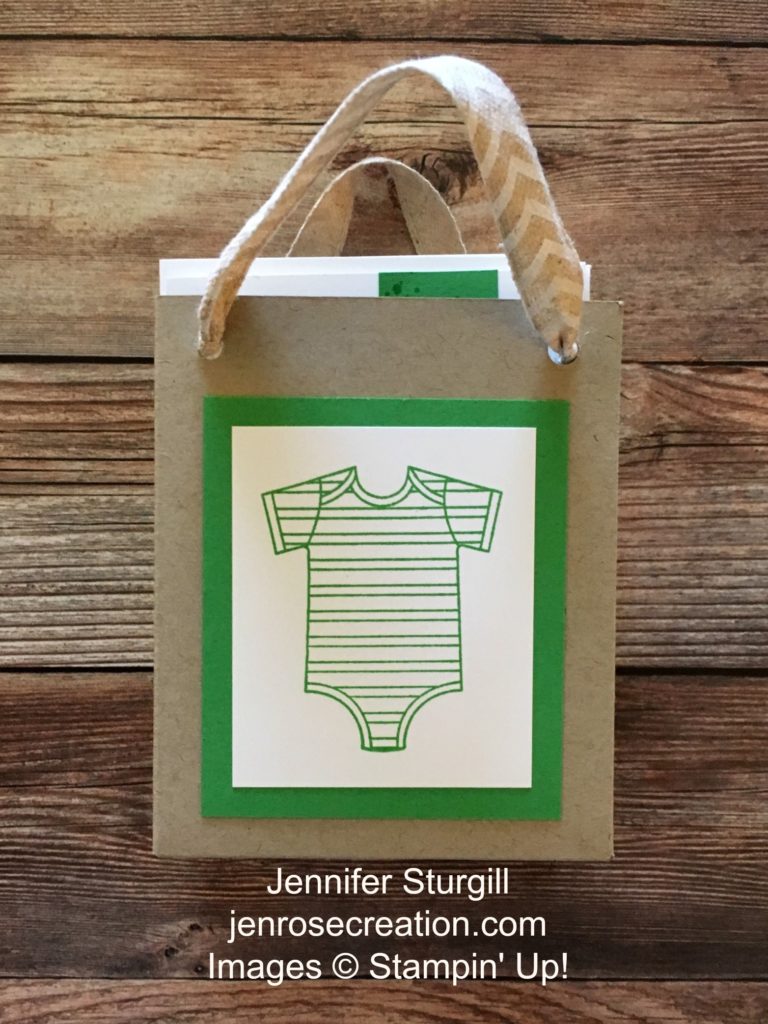
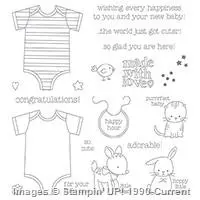
I decorated one side with Cucumber Crush and the other with Bermuda Bay to match the baby shower thank you cards.
Do you love getting a good deal? Do you want to get your Stampin’ Up! products at a discount? The best Stampin’ Up! deal is to become a Stampin’ Up! discount purchaser by getting our Starter Kit. It is the Ultimate Stampin’ Up! bundle! $125 in product of your choice for only $99. There are zero requirements, option to sell if you want, and the kit ships for free!! AWESOME!!
You can email me at jennifer@jenrosecreation.com with any questions. You can click HERE if you are ready to become a discount purchaser.